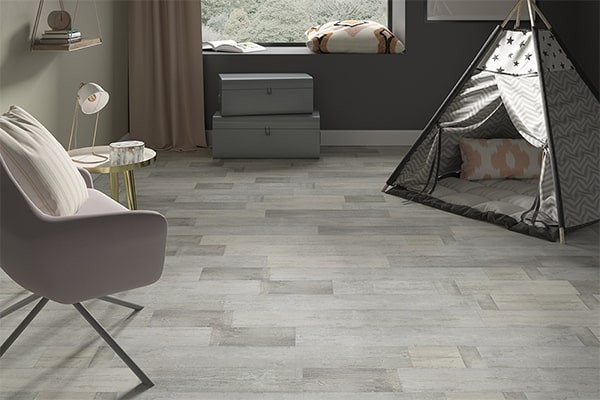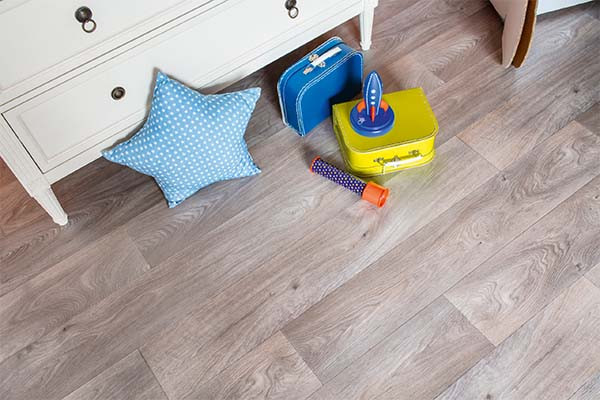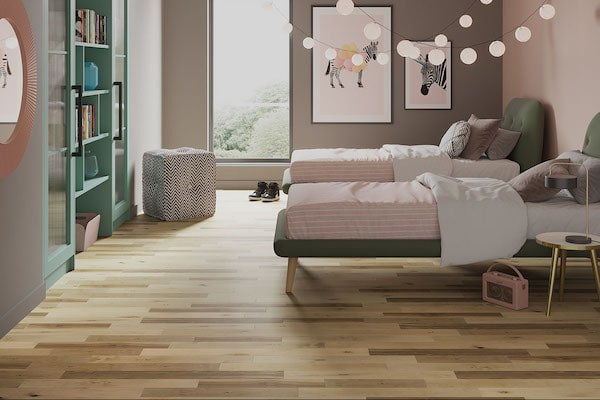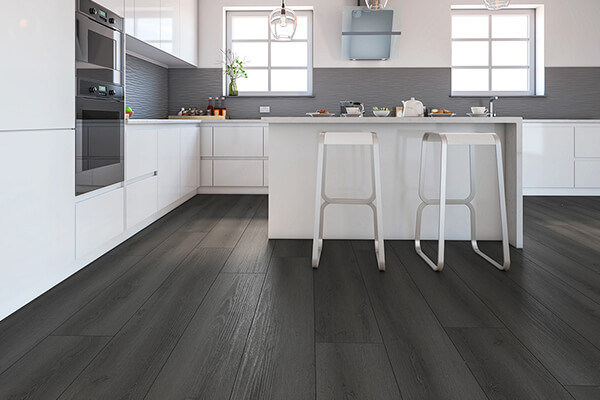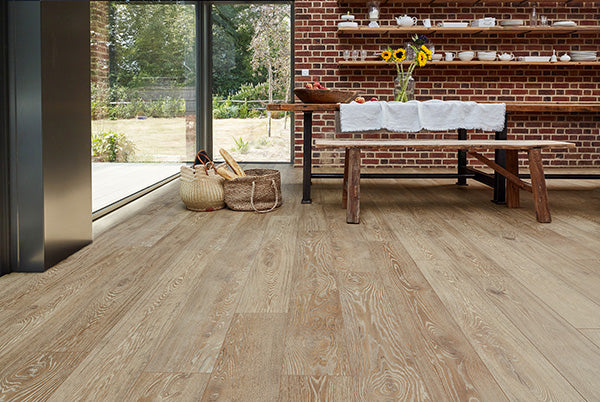
Installing a laminate floor is a great DIY project because it's so easy to do. In addition to the pride of having a beautiful new floor, you will be able to declare that it was all your own work!
Measure the Laminate Flooring
To find out how many laminate boards are required to cover a certain room, it is necessary to get a correct measurement of the floor space of the room. The combined area of the laminate boards should be about 10% more than the area of the room to allow for wastage.
Acclimatise your New Laminate Flooring
This is a very important aspect of installation which will make a huge difference to your flooring. Fortunately it is not difficult to acclimatise your laminate floor.
For at least 48 hours before your laminate floor is laid, the product should be kept in the room where it is going to be installed, in the boxes it arrived in.
A constant temperature must be maintained before, during and three days after the installation takes place. This process helps to stabilise moisture levels as naturally as possible because laminate flooring can expand and contract slightly with changing temperature and humidity. If this is allowed to happen then gaps or peaks can appear, ruining the look of your floor.
Preparing for Fit Laminate Flooring
Check is that the subfloor is in good condition. Use a floor leveller to check all areas of the subfloor. A surface that is slightly uneven may be sanded down and this will ensure the new laminate floor on top is nice and flat.
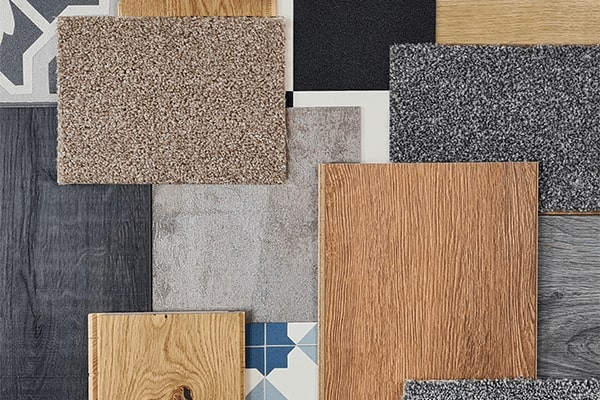
Next you should install your underlay. This step is different depending on which type of subfloor you have:
If you are installing over a concrete slab you will need to use and underlay which has a built in damp proof membrane. Tape the underlay down using packaging tape to make sure it extends up the wall at least 5 cm.
If it's a wooden subfloor, you will not have to use an underlay with a damp proof membrane, tape the underlay together, or run it up the wall.
For installation over underfloor heating ensure you have an underlay that distributes heat evenly across its surface.These are recommendations, but you should always follow manufacturers' guidelines when choosing an underlay.
Cutting Laminate around Toilets, Radiator Pipes, Stairs and Doorways
Mark Your Laminate: Always make some kind of mark on your laminate before you begin cutting. This is the best way to prevent mistakes. Use a pencil or chalk to mark so it's not noticeable.
Pick Your Tool: Chop saws are good for repetitive cuts, especially on the short end of laminate boards. These tools create a lot of dust so it's best that you use it outside. Circular saws are good for cutting long straight lines. Jigsaws are good for cutting laminate to put around things like pipes, or other curved objects.
Cut Your Laminate: If you are using a power saw, remember that laminate chips easily. To prevent chipping, you have to use a saw with fine teeth and you have to cut downwards into the laminate, not upwards as is typical with saw blades, and other materials like wood. If you are using a simple hand saw, cut your laminate with the good side up, but only use pressure on the downward strokes. When pulling back up, don't let the saw come into contact with the uncut section of the line.
Notch the Planks: If you are installing the laminate around pipes, and need to cut to fit them, you should use a jigsaw to actually notch the planks. Leave a _ inch expansion space so that there is room for the pipe
How to Fit and Lay Laminate Flooring
Most laminate floors are click-system types and knowing how to fit laminate flooring like this is far from rocket science. The items will fit together like jigsaw pieces. The key is not to add too much glue, as this will form barriers between the edges.
The laminate boards should be laid starting from the perimeter of the room. Make sure that the groove side of the boards face the wall. The first board on the first row should be a full board, and the second row should start with a 2/3 board. The first board on the third row should be a 1/3 board, and the fourth row starts with a full board again. This pattern will go on until the entire floor is covered with laminate boards. The end joints of one row should be about 8 inches away from the end joints of the next row.
Even if the new floor has been properly acclimatised it will still experience normal expansion and contraction as humidity and temperature levels vary. This means that there should be a small gap of 10mm between the edge of the room and the laminate to allow for this.
To maintain this gap during installation spacers are provided in the installation kits (purchased separately). After you have installed the floor you can cover this expansion gap with scotia/beading or new skirting boards. The 10mm expansion gap also needs to be left in doorways where the floor follows through from one room to another; we have a full range of door profiles available to match your floor.
Provided these guidelines are followed and the manufacturers' instructions studied there should be no problem installing your laminate floor and enjoying it for many years thereafter.
ATTENTION INSTALLER/OWNER RESPONSIBILITY
Inspect all materials carefully before installation. Even though our product goes through many inspections before it leaves the plant, it is the responsibility of the customer and installer to perform a final inspection prior to installation. Any warranties offered with this product do not cover materials with visible defects once the product is installed.
JOB SITE CONDITIONS
It is the responsibility of the owner/installer to determine if the jobsite subfloor and job site conditions are environmentally and structurally acceptable for wood floor installation. The installer/owner is responsible for wood failure resulting from or connected with subfloor, subsurface, job site damage, deficiencies or using inadequate accessories after the hardwood flooring has been installed.
PLEASE NOTE:
Always read the full manufacturer's recommended installation guides before installation which you will find in every 3rd pack of flooring.