













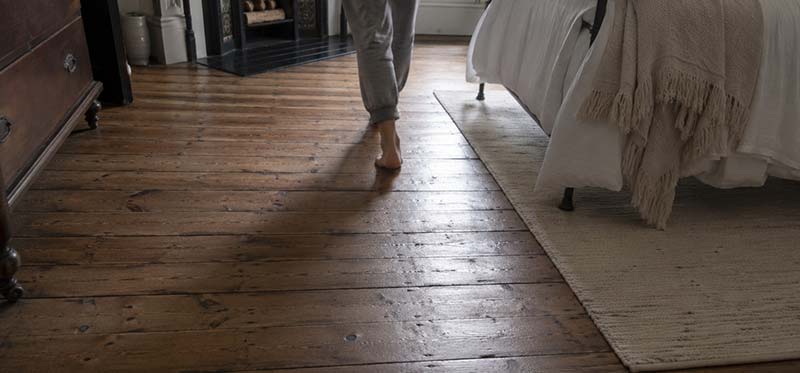
Imagine the scene. You’re snoozing peacefully, snug in your toasty duvet. It’s hours until your alarm goes off.
SQUEAK!
You’re wrenched from sleep by a squeaky floorboard. And that’s it. Lie-in kaput, sleep deprivation guaranteed. A day of caffeine and energy drinks
on the horizon.
Annoying, isn’t it?
But it isn’t just the risk of sleep-theft. Squeaky floorboards can be distracting when you’re trying to focus, embarrassing when you’re entertaining, and even a safety concern if the underlying issue isn’t addressed.
But how to fix squeaky floors? Read on for some practical tips.
What Causes Squeaky Floors?
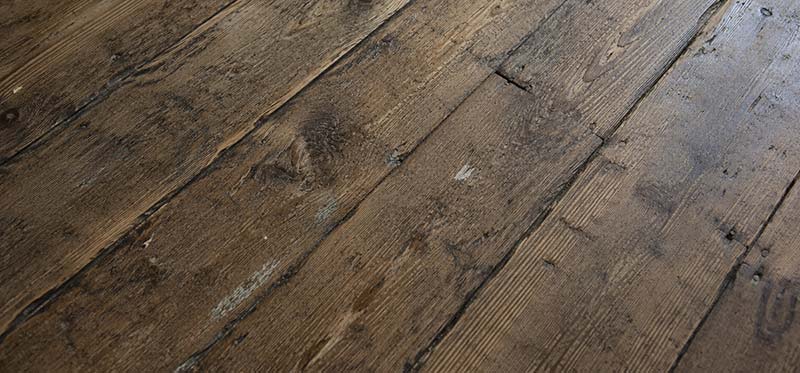
There’s no single reason for a squeaky floor, but there are several common issues that can cause your floor to screech underfoot.
For example:
1. Loose nails or screws
Floors put up with a lot. Whether it’s kids running laps of the lounge, adults pacing around whilst on the phone, or just the weight of heavy furniture.
As you can imagine, this constant pressure takes its toll, causing nails and screws to come loose, which, in turn, causes floorboards to rub against each other
2. Gaps between floorboards
When floorboards are first laid, they’re tight and snug, with an even distribution of weight. But fluctuations in humidity (especially in the summer months) causes floorboards to swell and contract, separating them from each other.
The result? A telltale squeak.
3. Sagging subfloor
A potential safety risk, squeaky floorboards can be the result of a sagging subfloor (i.e. the layer beneath finished flooring.)
Sagging subfloors can be caused by several things, but the most common reasons include structural issues or even excessive weight from heavy furniture.
Safety Checks Before Fixing a Squeaky Floor
Before lifting floorboards or reaching for your tools, clear the area and keep children and pets away while you work. Wear protective goggles, gloves and knee pads, and make sure any lifted boards, loose fixings or tools do not create a trip hazard.
Pipes and electrical cables may run beneath the floor, so never drive screws or nails into a floorboard unless you are confident the area underneath is clear. A suitable cable and pipe detector can help, but if you are unsure, stop and speak to a professional.
Take extra care when repairing a squeak on a staircase. Each tread should feel stable, while the surface and leading edge should remain secure, dry and free from anything that could cause someone to slip or trip. Avoid applying finishes that could make the steps slippery and make sure any edge profile does not leave a raised or uneven lip. If the existing edge is loose or damaged, correctly fitted stair nosing can provide a neat and secure finish.
Simple repairs, such as securing an accessible loose board, may not require formal approval. However, work that alters floor joists, the subfloor or the structure of a staircase may need to comply with building regulations. Requirements vary across the UK, so check with your local building control body or a qualified professional before carrying out structural work.
How to Fix Squeaky Floorboards
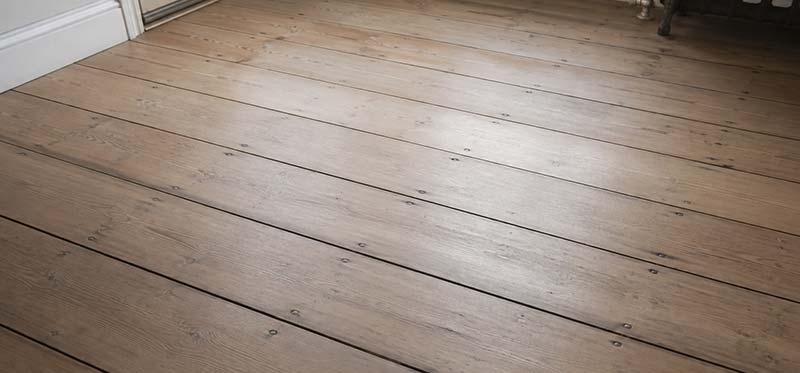
As with most DIY tasks, fixing creaky floorboards can be broken down into several bite-size steps, each feeding into the next until your floor is squeak-free.
But where to start? Well, your first task should be to:
1. Identify the source of the squeak
You can’t fix the problem until you’ve diagnosed the problem, so spend some time investigating the squeak to get an idea of what could be causing it. There’s no one-size-fits-all method to fix a squeaky floor, so it’s important to fully understand the underlying cause.
Start by walking the floor to accurately pinpoint the source of the squeak—the louder the squeak, the closer you are!
From there, spend some time checking for any loose screws or nails that might be causing the floorboards to rub against each other.
If that doesn’t work, inspect the subfloor (the layer beneath the finished flooring) for sagging or unevenness.
Once you’ve identified the source of the squeak, the real work begins.
2. Decide on a solution
Once you know what you’re dealing with, you can investigate the problem more thoroughly and devise a solution for fixing your creaky floor.
Problem 1: Loose screws or nails
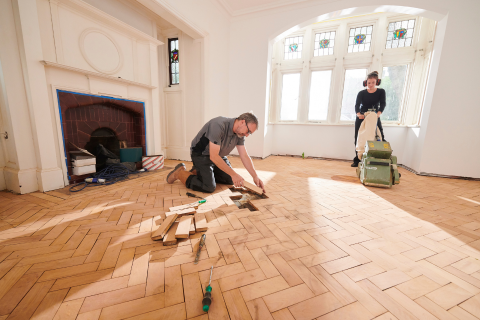
If the issue is loose screws or nails, then it’s simply a case of breaking out the tools and tightening and hammering until the squeak is no more.
For this, you’ll need:
• A sturdy hammer
• Appropriately sized nails
• A strong screwdriver (an electric screwdriver can save time here)
You might also consider wearing knee pads to protect your knees as you work. Don’t have any? Try placing a cushion beneath your knees.
Problem 2: Gaps in the floorboards
If your squeak is the result of gaps in the floorboards, you should start by clearing any dirt or debris from the area, before using wood filler and a putty knife to fill the gaps.
From there, simply use sandpaper to smooth out the filled areas and apply a matching floor finish or varnish.
For this, you’ll need:
• Wood filler
• Floor finish, ideally the same colour as your floorboards
• A putty knife (for spreading the filler)
• Sandpaper (for smoothing the filled areas)
• A paintbrush or roller
Problem 3: Sagging or uneven subfloor
If the floor feels noticeably uneven, bouncy or unsupported, the squeak may be caused by a problem with the subfloor or joists. This can result from moisture damage, movement, inadequate support or another structural issue, so the correct repair will depend on what is happening beneath the floor.
Avoid lifting boards, cutting timber or adding shims and support beams until the area has been properly assessed. A flooring professional, experienced carpenter or structural specialist can identify the cause and recommend a repair that does not damage the surrounding floor or affect hidden pipes and cables.
DIY or Professional
A small DIY repair may be suitable when you can clearly identify an accessible loose board or fixing and there are no signs of damp, damage or significant movement. Only continue if you have the right tools, can work safely and know where any pipes or electrical cables are located.
It is better to hire a professional if the floor is sagging or unusually bouncy, the boards appear rotten or damaged, the squeak covers a large area or the problem keeps returning. Professional advice is also recommended when the repair involves joists, a staircase or removing a fitted floor that you want to preserve.
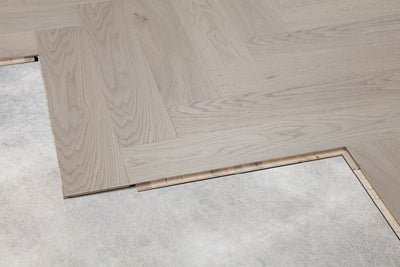
If laminate flooring needs to be lifted to reach the subfloor, take care not to force or damage the click joints. Before refitting it, check the expansion gaps, underlay and transition profiles, and use compatible laminate flooring accessories where required. If you are uncertain whether the existing boards can be reused, ask a flooring fitter to inspect them first.
And there you have it! If you’ve followed the above steps, your floor should be creak-free, leaving you to enjoy your lie-in in peace.
Fixing a squeaky floor depends entirely on what’s causing it to squeak, so be sure to spend plenty of time assessing the root problem before committing to a course of action—the last thing you want is to make your room temporarily off-limits for a simple case of loose nails!
Need more tips and tricks for revitalising your home? Check out our advice centre. Yet to decide on your next project? Visit our inspiration centre.