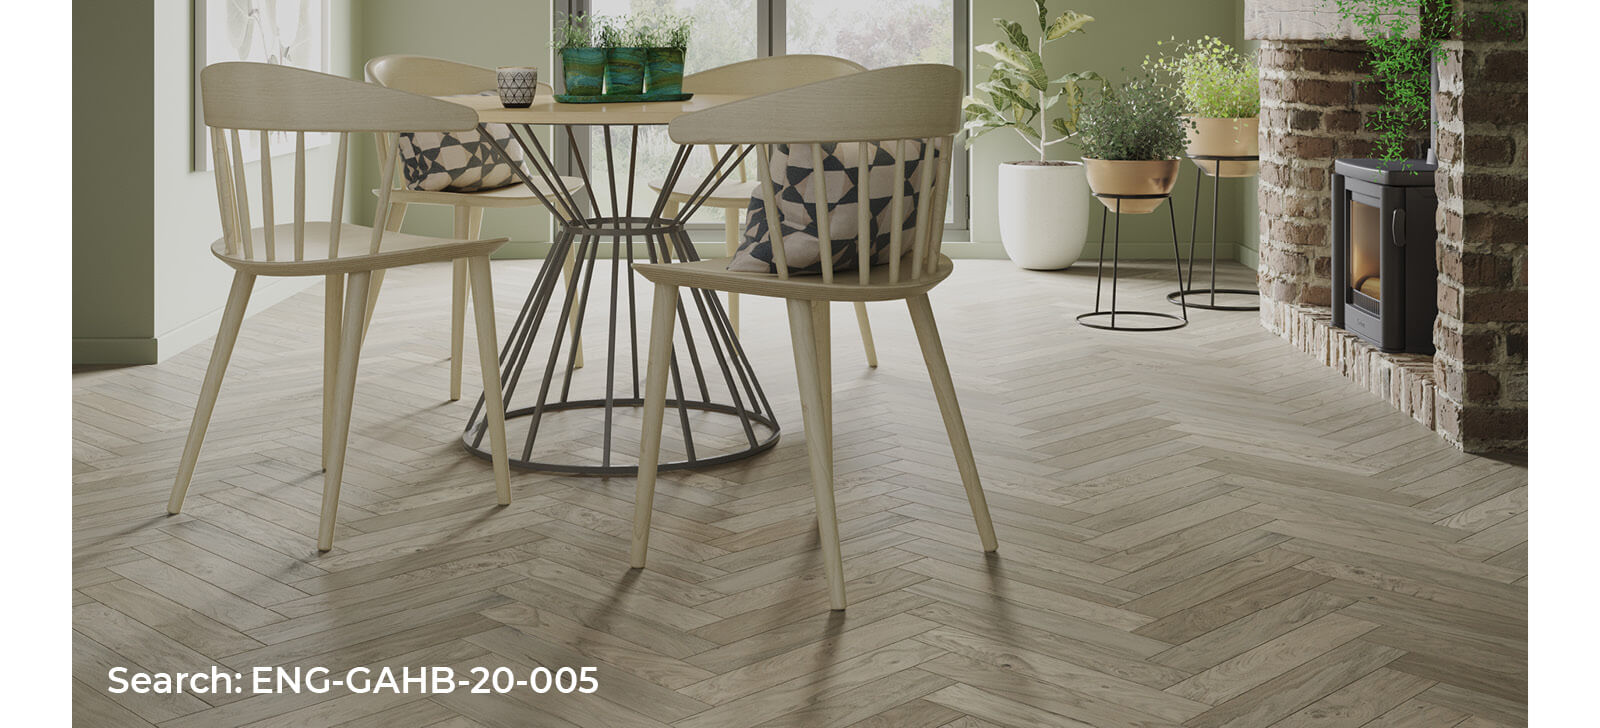
If you're looking for a truly premium floor to install within your home, then you can't get much better than real wood. Both solid wood and engineered wood flooring provides that additional level of sophistication that'll lift your room from drab to dreamy. You may have a few questions though before you purchase a real wood floor. We've outlined the 8 most common wood flooring questions to help you make the best choice possible or answer any nagging questions you may have regarding your own real wood floor.
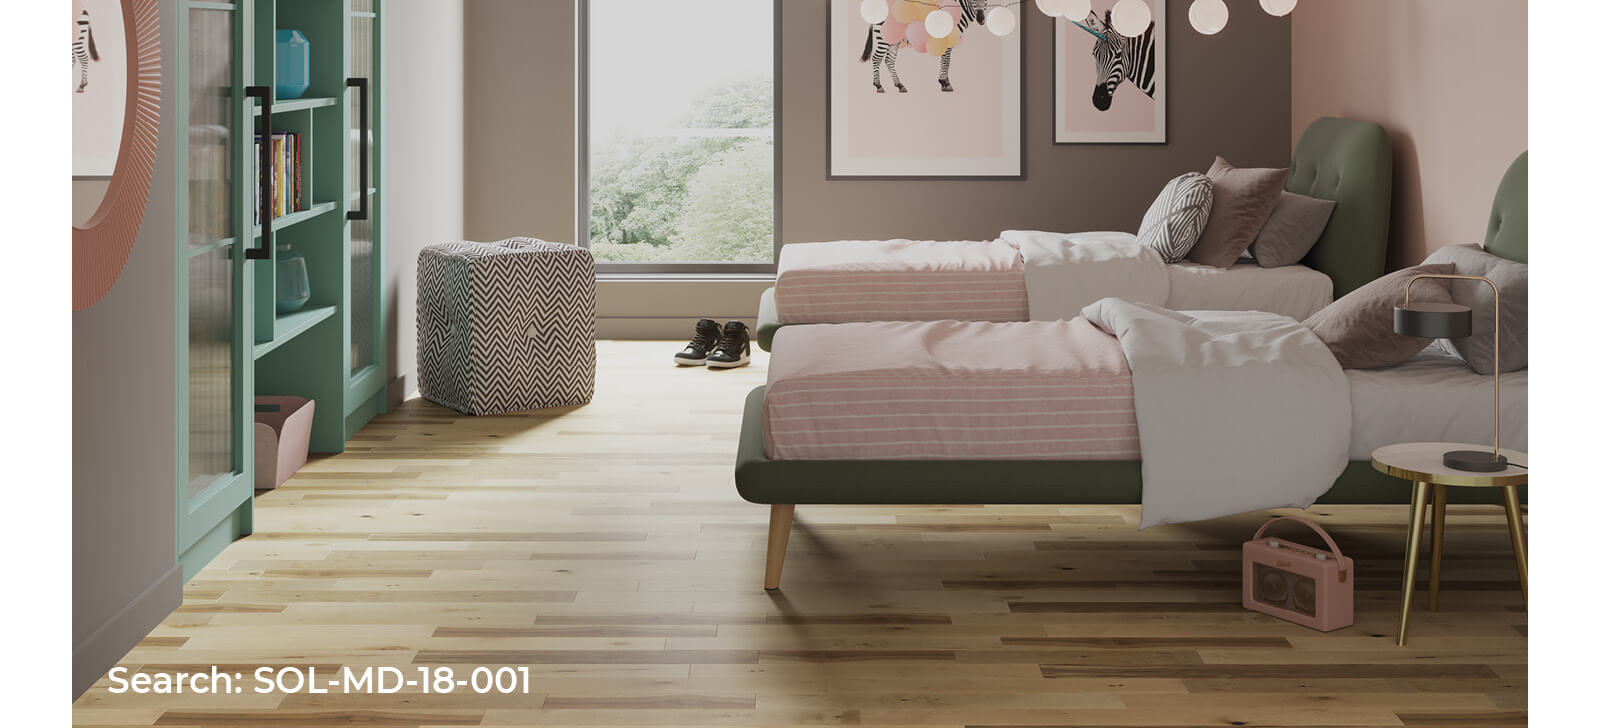
1. What is engineered wood flooring?
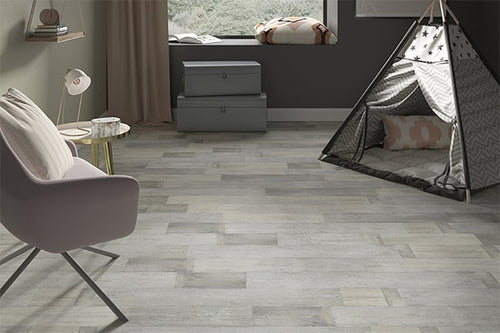
Engineered wood flooring has the appearance of solid wood flooring, but is easier to install, and is becoming an increasingly popular choice in many homes. It gives the same irresistible feel as solid wood, providing you with that unmistakable look and feel, but thanks to the layered construction is less prone to shrinking or warping. A lacquered engineered floor can also be a viable floor if pets are part of your family.
Engineered flooring is constructed in either a multi-ply or three-ply. Not all engineered wood flooring is the same, but for the most part planks are made of a base to provide stability, a softwood or multi-ply core that includes a locking system of click or tongue and groove, and finally a real wood top layer. For more information on engineered wood flooring check out our 'What is engineered flooring' blog.

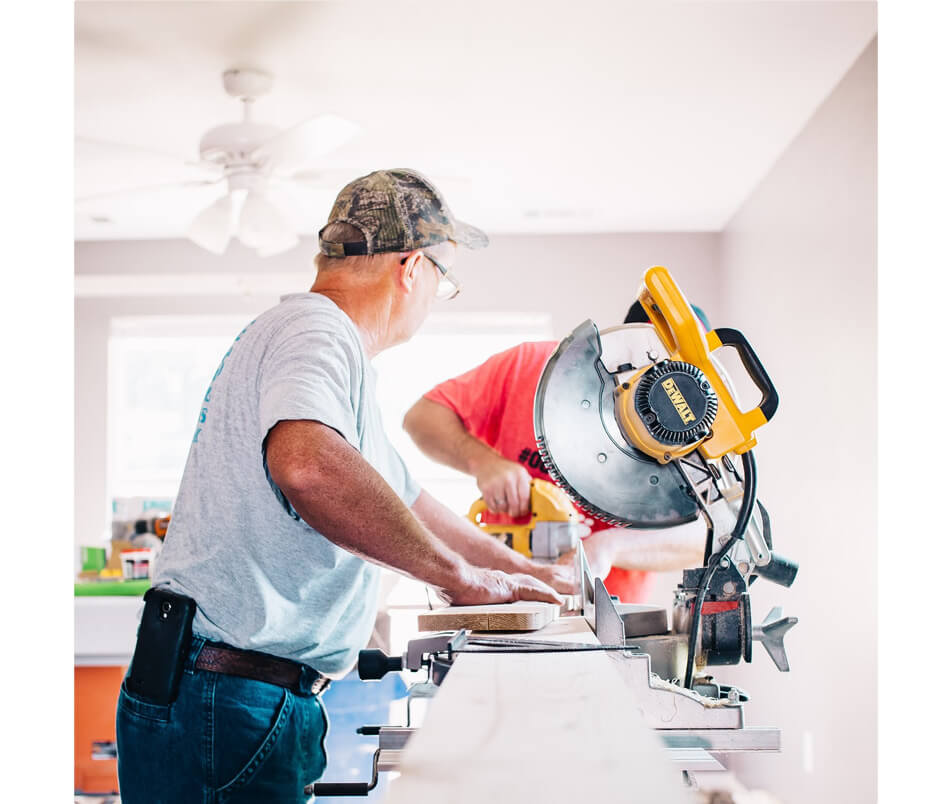
2. How to lay wood flooring
We would always advise, for any tongue and groove installation, to use a professional if possible, as the requirement to glue or nail down the planks can be tricky and isn't suitable for DIYers. If you're confident and looking for how to lay wood flooring or how to lay engineered flooring, then there are a few steps to keep in mind.
Before you do anything, ensure you've measured your room properly, real wood flooring is a premium product, and as such comes with a premium price point. You will want to ensure you're purchasing the right amount before you start. Acclimatisation is an essential step no matter which option you choose. Every building has its own natural humidity, and this will cause your boards to contract and expand. If you lay your new wood flooring without properly acclimatising then this can cause it to warp and flex, ruining it before you've had a chance to enjoy it. Once you've acclimatised, grab all necessary equipment and then you should be good to go.
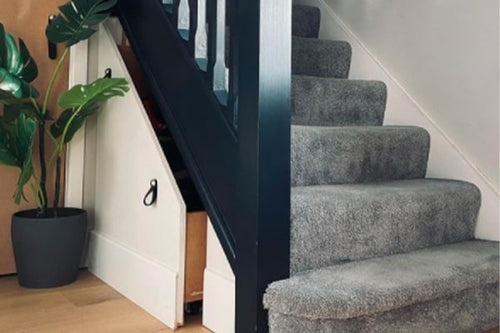
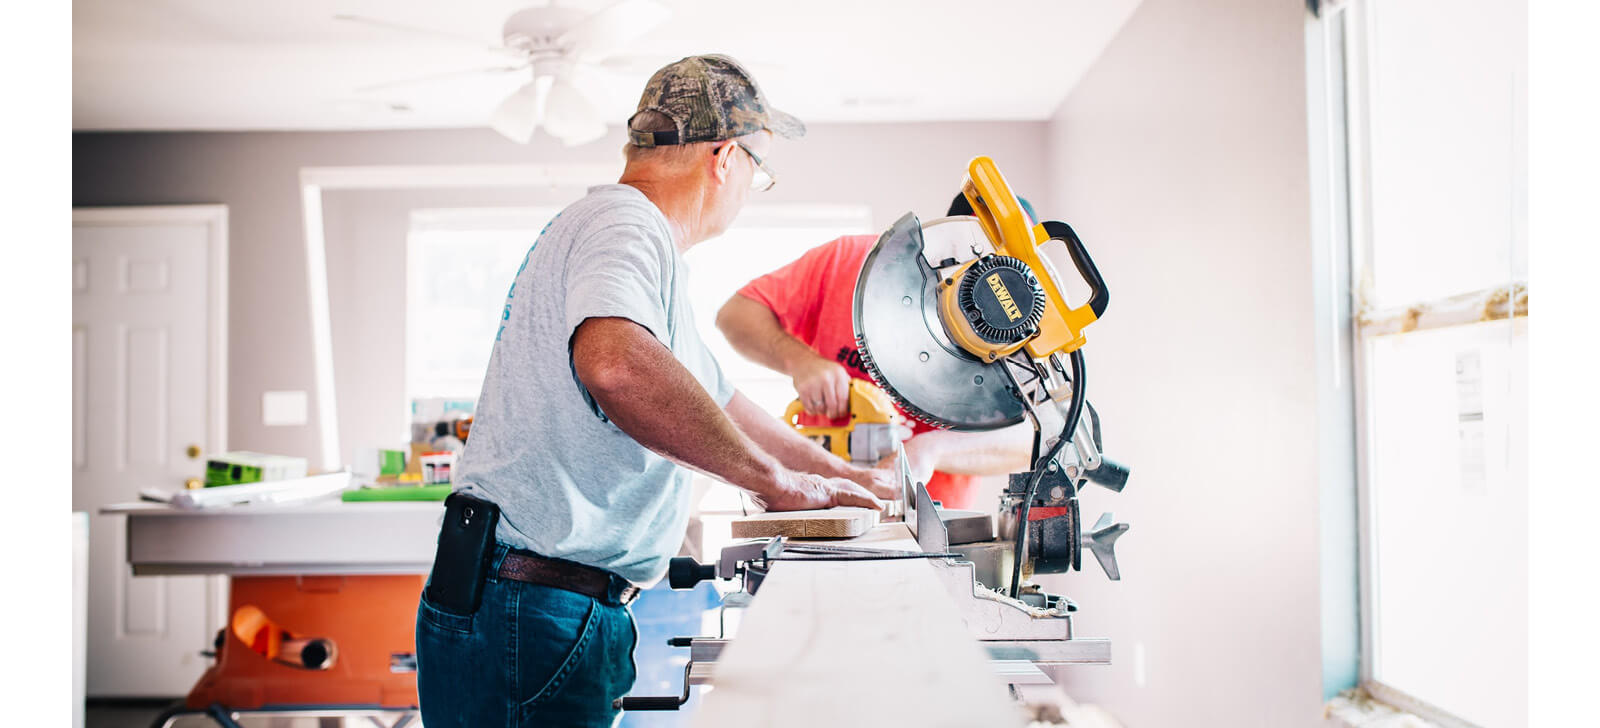
All of our solid wood flooring exclusively has tongue and groove installation and is more suited to a professional installer. Engineered wood flooring on the other hand can be installed by either tongue and groove or click. Our click system easily slots boards together for an easier installation that doesn't need nailing or gluing. For a complete rundown on how to install solid wood flooring, check out our 'How to install solid wood flooring' blog. You can also install hardwood on your stairs, and you can find out more on our blog.
HOW TO INSTALL SOLID WOOD FLOORING
HOW TO INSTALL FLOORING ON STAIRS
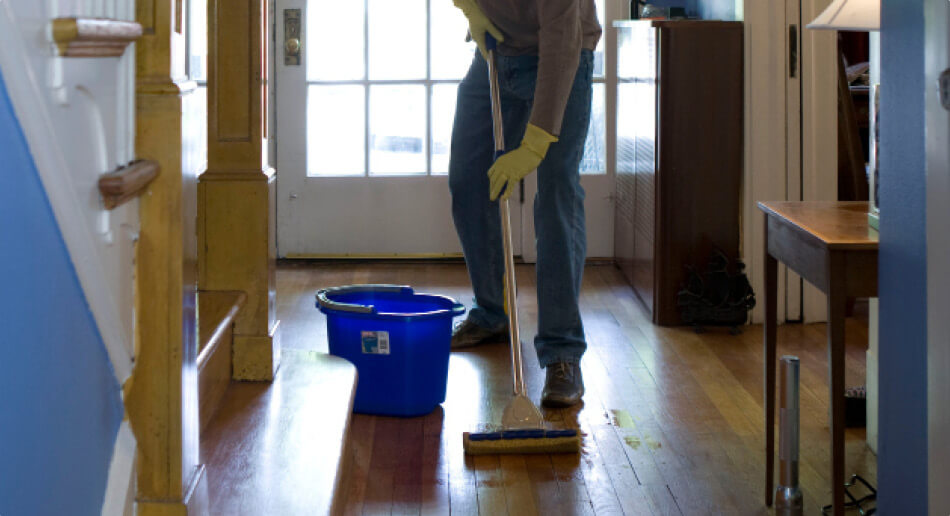
3. How to clean wood floors
Taking good care of your real wood floors helps to extend their life, but they do require regular maintenance to keep them looking their best. As with most hard surfaced floors, both are susceptible to scratches and stains, although a strong lacquered finish can offer some level of protection against this.
As day-to-day cleaning goes, a regular dusting with a microfibre cloth, or microfibre mop will do the trick. For more thorough cleaning, a good vacuum will help pick up any hidden bits of dust and dirt, and then a light mopping with only a slightly damp mop will help bring out the shine. You can also purchase a range of products tailor-made to keep wood floors looking their best for longer. This can include daily cleaners to keep your floors shining, or complete care kits for added protection. For a more in depth look on how to maintain your solid wood and engineered wood floors, check out our relevant articles below.
HOW TO MAINTAIN SOLID WOOD FLOORING
HOW TO MAINTAIN ENGINEERED FLOORING

4. How much is wood flooring?
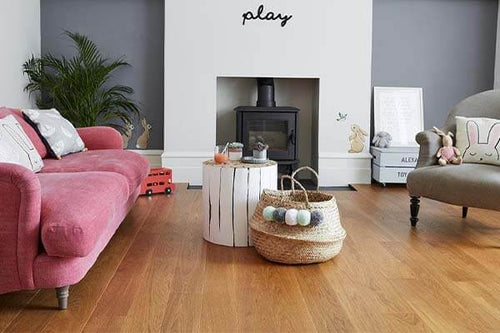
Real wood flooring is a premium product, in both form and appeal. It has an unmistakably high-end feel to it and its aesthetics are unmatched. When you purchase a real wood floor you are buying a truly unique product, with no two floors looking the same. With that it does come at a premium price, so how much does wood flooring cost? As solid wood planks are cut directly from the log, they are always going to be a more exclusive option. Thanks to the layered construction of engineered wood, it can be a more affordable product, with the same premium look and feel you get from solid wood. When it comes to engineered wood flooring, you can purchase it for as little as £25.99 per square meter, but to get the fantastic look of solid wood floors in your home, you should expect to pay in the region of £46.99 - £67.99 per square meter. For a full look of how much real wood flooring costs, check out our full range.
5. How to paint wood floors
One of the appeals of real wood flooring is the natural look and traditional feel it adds to your home. Real wood floors come in a range of finishes, but you are able to paint any unfinished wood flooring to achieve your perfect style.
When looking to paint your wood floors, always seek out specific floor paints, as they're developed to withstand the wear and tear floors see day-to-day. Not only are they resistant to wear and tear, but also flaking, chipping, and peeling, as well as giving additional protection against spills and stains. When painting, use a primer on any exposed areas to help adhere the paint to the surface. You will also want to ensure you floor is clean, and any debris is removed. Begin painting around the edges, leaving 2inches from the side, to begin with, making sure you don't get any on the skirting. Then use a brush, roller, or painting pad to paint the rest of your floor.
Try to do any painting in one go as this will help blend strokes together and stop any potential layer marks forming. You'll need at least 2 coats for the perfect finish, but you may wish to paint more. Leave your painted floor as long as possible before walking on it - at least 24 hours. We'd recommend waiting a few days before moving any furniture back to allow the paint to fully set.
6. How to get paint off wood floors
There's something incredibly frustrating about painting your new room, clearing the dust sheets you've laid, and discovering paint has still managed to make its way onto your stunning wood floor. So, how do you get paint off wood floors?
Firstly, it depends on whether the paint you're trying to remove is water or oil-based, as this will determine what you'll need to do to remove it. Water-based paints are the easiest to remove as quite often a simple soapy mixture can help lift anything that's found its way onto you floor with relative ease. Alternatively, if you need a little more lift, then using a mixture of three parts rubbing alcohol and one part lemon juice should do the trick. Carefully use a putty knife to scrape off the majority of the paint and leave the solution on the spot for 5 minutes. The paint should then easily wipe off. Be careful when scrubbing or scraping your wood floors to make sure you don't damage the surface. If neither option has worked then it's now time to look at alternatives. Paint removers that work on both oil and water-based paints are available, just remember to follow the instructions on the product to ensure you don't damage your floor.
7. How to get scratches out of wood floors
Scratches and dents in any floor are to be expected with everyday life. If your wood floor has suffered any light surface scratches, the easiest way to remove them is by sanding down the area and retreating. For more information on this, check out the 'how to restore wood floors' section below. Bear in mind when you sand down an engineered wood floor, that only the top surface level is real wood, and as such, can only be sanded a couple of times.
If the scratches you're trying to fix are a bit deeper, you can purchase a colour matched wood putty to fill in scratches or gouges that may have occurred.
8. How to restore wood floors
As with any flooring, wear and tear, sunlight and other factors can lead to the colour of your wood floor fading slightly, so you'll want to restore it to keep it shining. If you do keep on top of your floor maintenance though, then you shouldn't need to restore your floor too often. Hardwood floors shouldn't be refinished too often, as each time you do, a layer is removed from the top of the wood, lessening the stability and strength of your floor.
If you do wish to refinish your floor, or are looking to change up the colour, the first thing to do is to clean and sand down the surface. This can be done using either a hand sander, or a disc sander if you're looking to revitalise a larger area. Now you'll want to pick a stain that matches your style, you could also choose to either lacquer or oil your floor, and for more information on how to choose between the two. Once you've stained your floor, leave it at least 12 hours to dry. When applying your new lacquer or oil finish, you will want to add a primer first, to help the lacquer adhere to the surface of the wood, remember to allow 4 hours for each layer to dry before applying the next. Once you've applied your desired number of layers, leave your floor to dry for at least 24 hours before moving furniture back, this allows the lacquer or oil to strengthen and lessens the chance of damaging.
Now that you've learned all about the differences in finishes, how to maintain your new real wood floor and crucially how much it should cost, you're primed to purchase your next perfect real wood floor. You won't regret choosing the unique quality and premium feel of real wood floors - look through all our different styles, colours and formats and transform your home into something truly special.